> ## Documentation Index
> Fetch the complete documentation index at: https://docs.impresivai.com/llms.txt
> Use this file to discover all available pages before exploring further.
# Quickstart
> Build and publish your first workflow in minutes
# Quickstart
Use this guide to create and publish your first Impresiv workflow.
## 1. Open the dashboard
Go to [Impresiv Dashboard](https://impresivai.com/dashboard) and sign in.
## 2. Create a workflow
Select **New Flow**, then enter a clear name like **Send AI Summary to Slack**.
## 3. Add a trigger
Each workflow starts with one trigger. Common options:
* **Webhook**: start from an HTTP request
* **Schedule**: run on a fixed interval
* **Form**: run after user input
## 4. Add action nodes
Add the steps your workflow should perform:
* **AI Action** for model-based tasks
* **API Request** for external services
* **If / Else** for branching logic
* **Transform** for formatting and mapping data
* **Respond** to return output
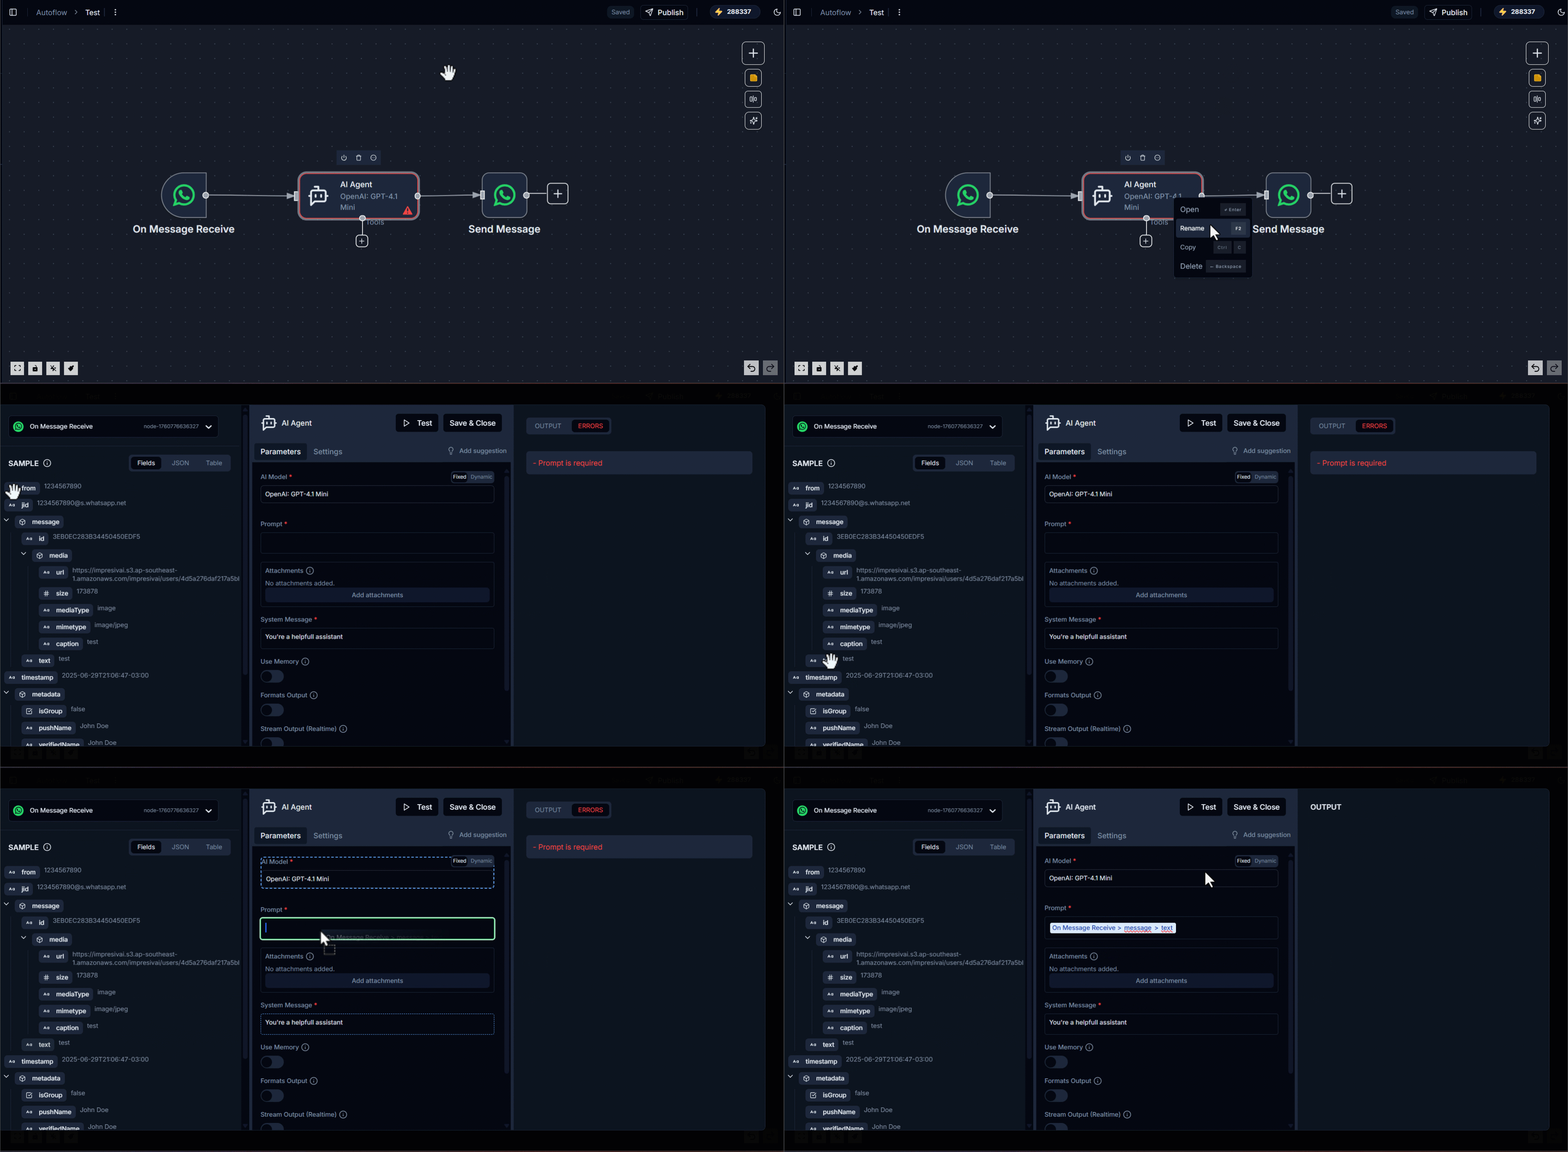
## 5. Pass data between nodes
Map outputs from one node into another node input.
Example: use AI-generated text in a Slack message payload.
 ## 6. Test the workflow
Click **Run** (or send a test webhook event) and review execution logs step by step.
You can test and edit as many times as needed before publishing.
## 7. Publish
When the flow is ready, click **Publish**.
The workflow is now live and will run whenever the trigger fires.
## 6. Test the workflow
Click **Run** (or send a test webhook event) and review execution logs step by step.
You can test and edit as many times as needed before publishing.
## 7. Publish
When the flow is ready, click **Publish**.
The workflow is now live and will run whenever the trigger fires.